
Wix
Embedding the Web Chat in a Wix website
Prerequisites
- A Wix website with the ability to add custom scripts. This will require a paid plan. Checkout Wix Pricing for more information.
- A Domain connected to your Wix website for the Custom Code to work.
- A Botpress account with an active bot.
Getting the Botpress Web Chat Script
- Log in to your Botpress account and navigate to your bot's Integrations tab.
- Click on the Webchat Integration and copy the Embedded script from the Pre-configured tab.
Adding the Botpress Web Chat Script in Wix
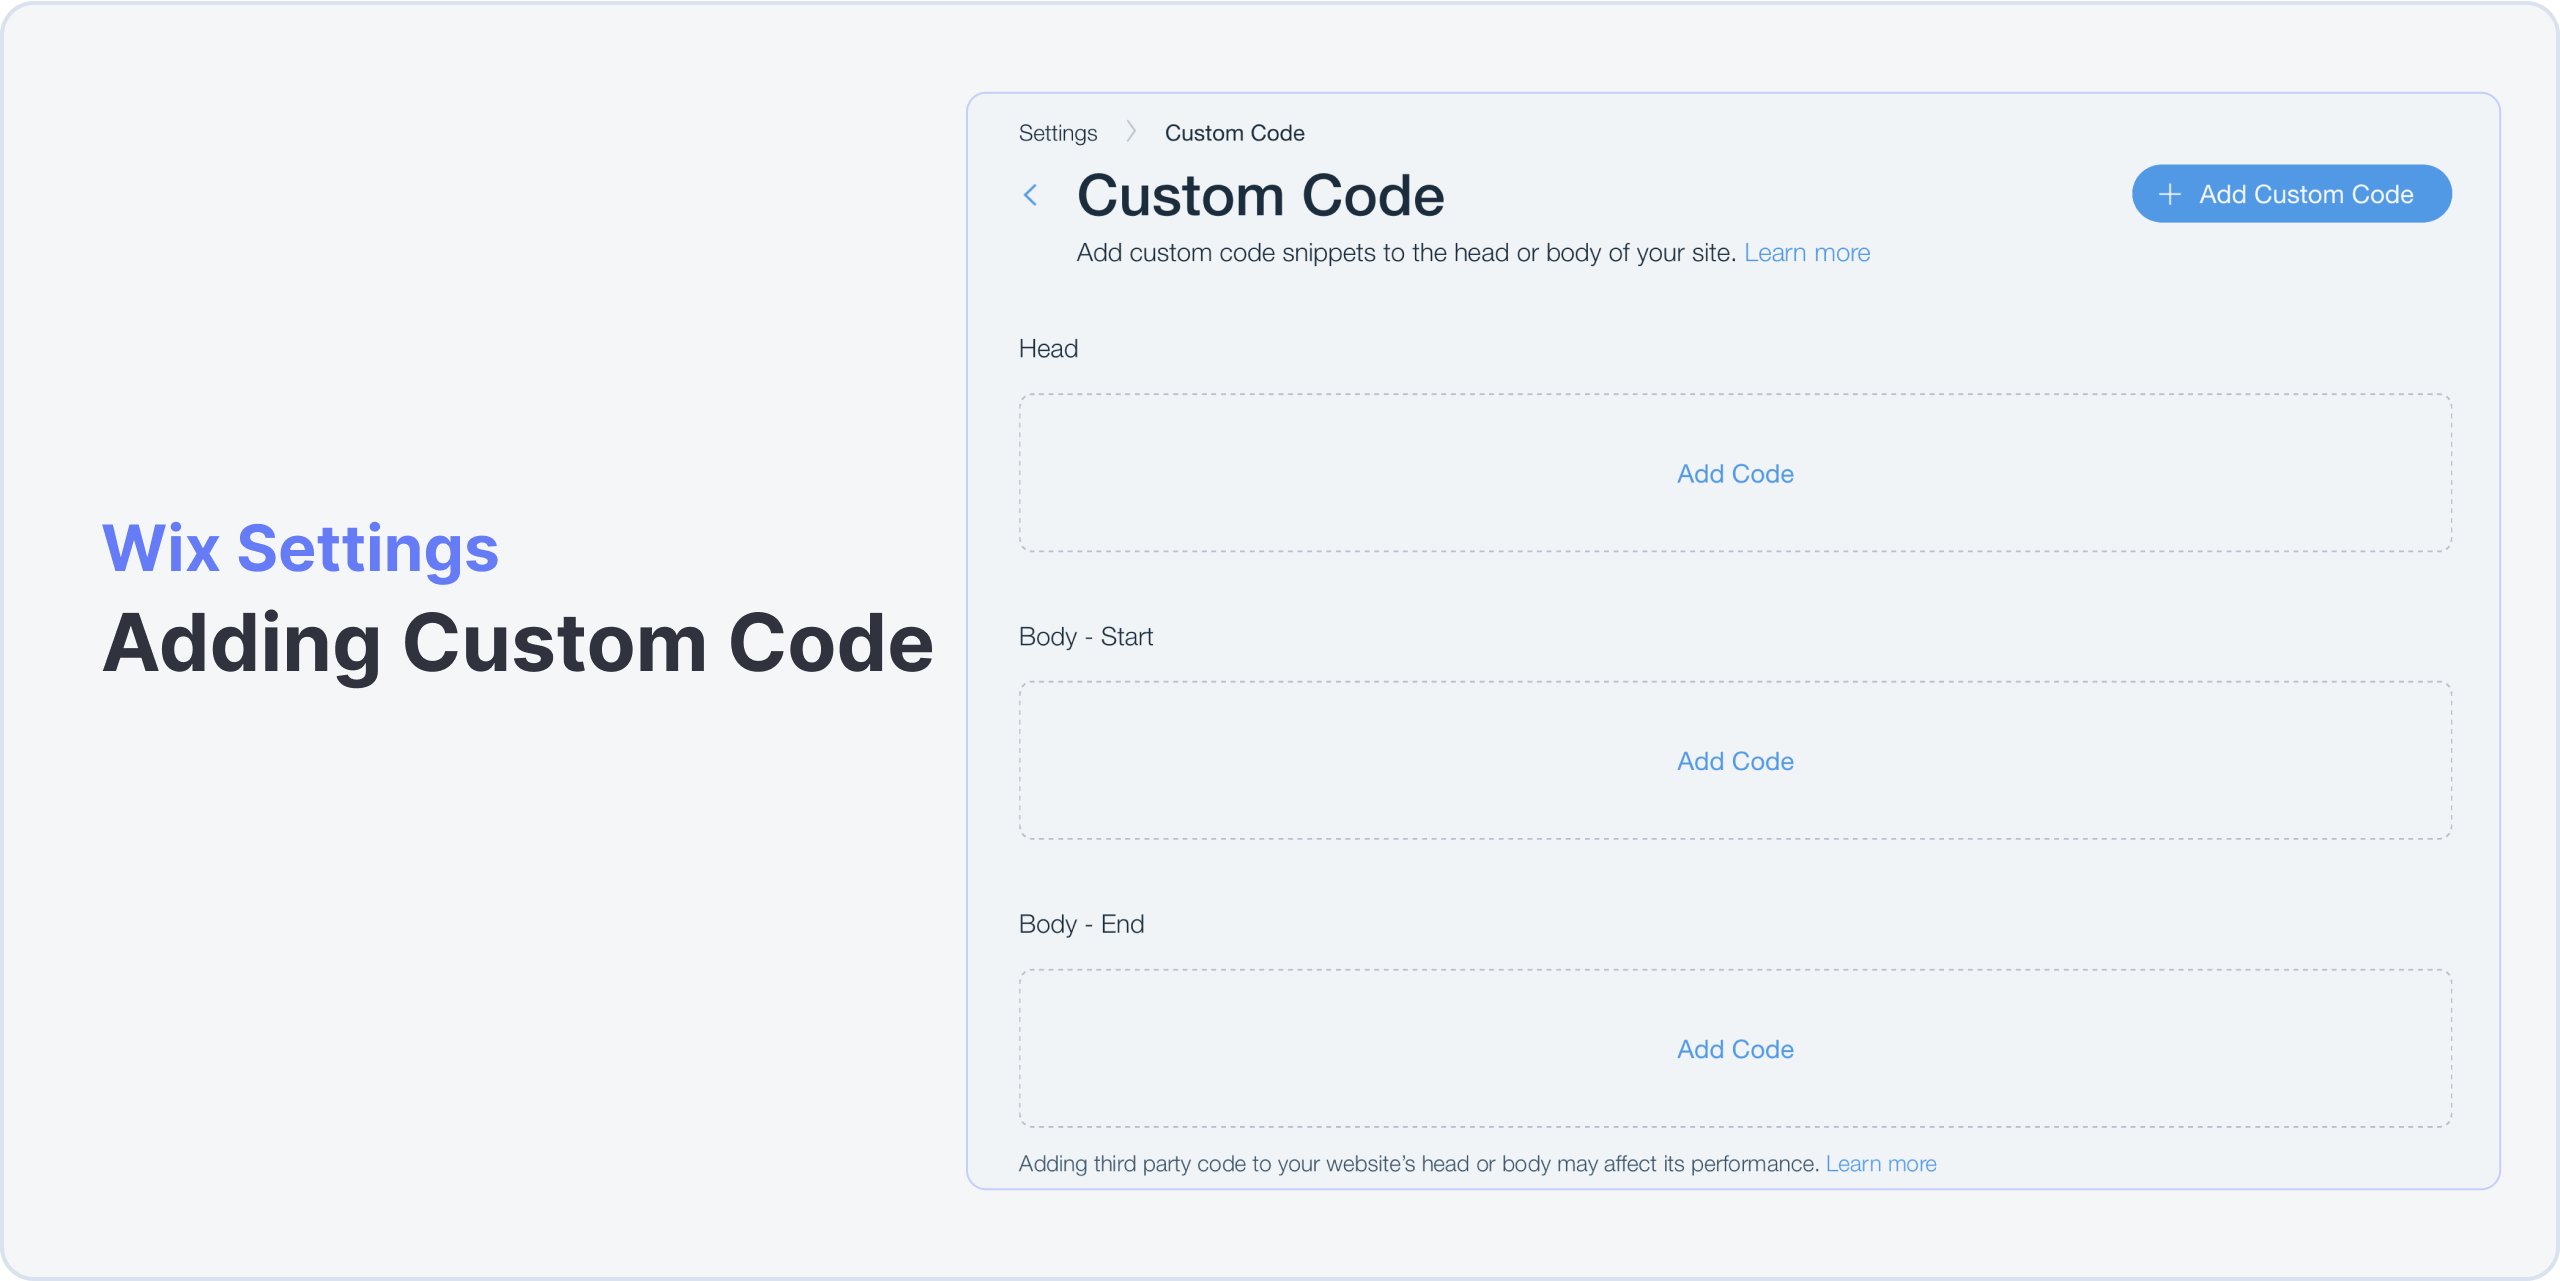
- Log in to your Wix dashboard and go to Settings from the left sidebar.
- Scroll down to Advanced Settings and click on Custom Code.
- Click on + Add Code in Body - Start and paste the Embedded script you copied in the previous step.
- Ensure you apply the code to All pages and load the code Once at the Body - end tag and click Apply.
Video Demonstration
Here is a video demonstration on how to build a custom chatbot for Wix. Towards the end of the tutorial, around the 18th-minute mark, we go over how adding the Botpress Webchat in Wix.
Testing the Integration
- Publish your Wix website and navigate to your live Wix website.
- You should see the Botpress Web Chat widget on the bottom right corner of your website.
Embedding the Botpress Web Chat in a HTML div
- Log in to your Wix dashboard and click on Edit Site on the top right of the dashboard.
- While in the Studio Editor, click on the Add Elements button from the left sidebar.
- Scroll until you see Embed Code. Click on it and click on Embed HTML.
- Place and modify the length/width of the HTML div wherever/however you'd like.
- Afterwards, place the following code under Add your code here (HTTPS only). Replace the "botId" and "clientId" with your values:
<div id="webchat-container" style="position: relative; width: 100%; height: 100%;">
  <script src="https://cdn.botpress.cloud/webchat/v2.2/inject.js"></script>
  <script>
    window.botpress.on("webchat:ready", () => {
      window.botpress.open();
    });

    window.botpress.init({
      "botId": "YOUR_BOT_ID",
      "configuration": {
        "botName": "Mr. Botpress Bot",
        "botAvatar": "https://cdn.prod.website-files.com/637e5037f3ef83b76dcfc8f9/65b02372899b558fa6d650b8_Pricing%20Changes.webp",
        "website": {},
        "email": {},
        "phone": {},
        "termsOfService": {},
        "privacyPolicy": {},
        "color": "#3bf5a1",
        "variant": "solid",
        "themeMode": "light",
        "fontFamily": "inter",
        "radius": 1
      },
      "clientId": "YOUR_CLIENT_ID"
    });
  </script>
  <style>
    #webchat-container {
      position: relative;
      width: 100%;
      height: 100%;
    }
    .bpFab {
      display: none;
    }
    .bpWebchat {
      position: absolute !important;
      top: 0 !important;
      left: 0 !important;
      right: 0 !important;
      bottom: 0 !important;
      width: 100% !important;
      height: 100% !important;
    }
  </style>
</div>-
Note: See Here for a guide on finding your Botpress clientId. Your Botpress botId can be found in the url of your studio or the Webchat tab. For example, while getting your clientId from the Webchat tab in the left sidebar of the workspace dashboard, you will notice your url look something like this: https://app.botpress.cloud/workspaces/THIS_IS_YOUR_WORKSPACE_ID/bots/THIS_IS_YOUR_BOT_ID/webchat/v2/general.
Grab the part after "bots/" that corresponds to the "THIS_IS_YOUR_BOT_ID" section and paste that in the HTML code from above! -
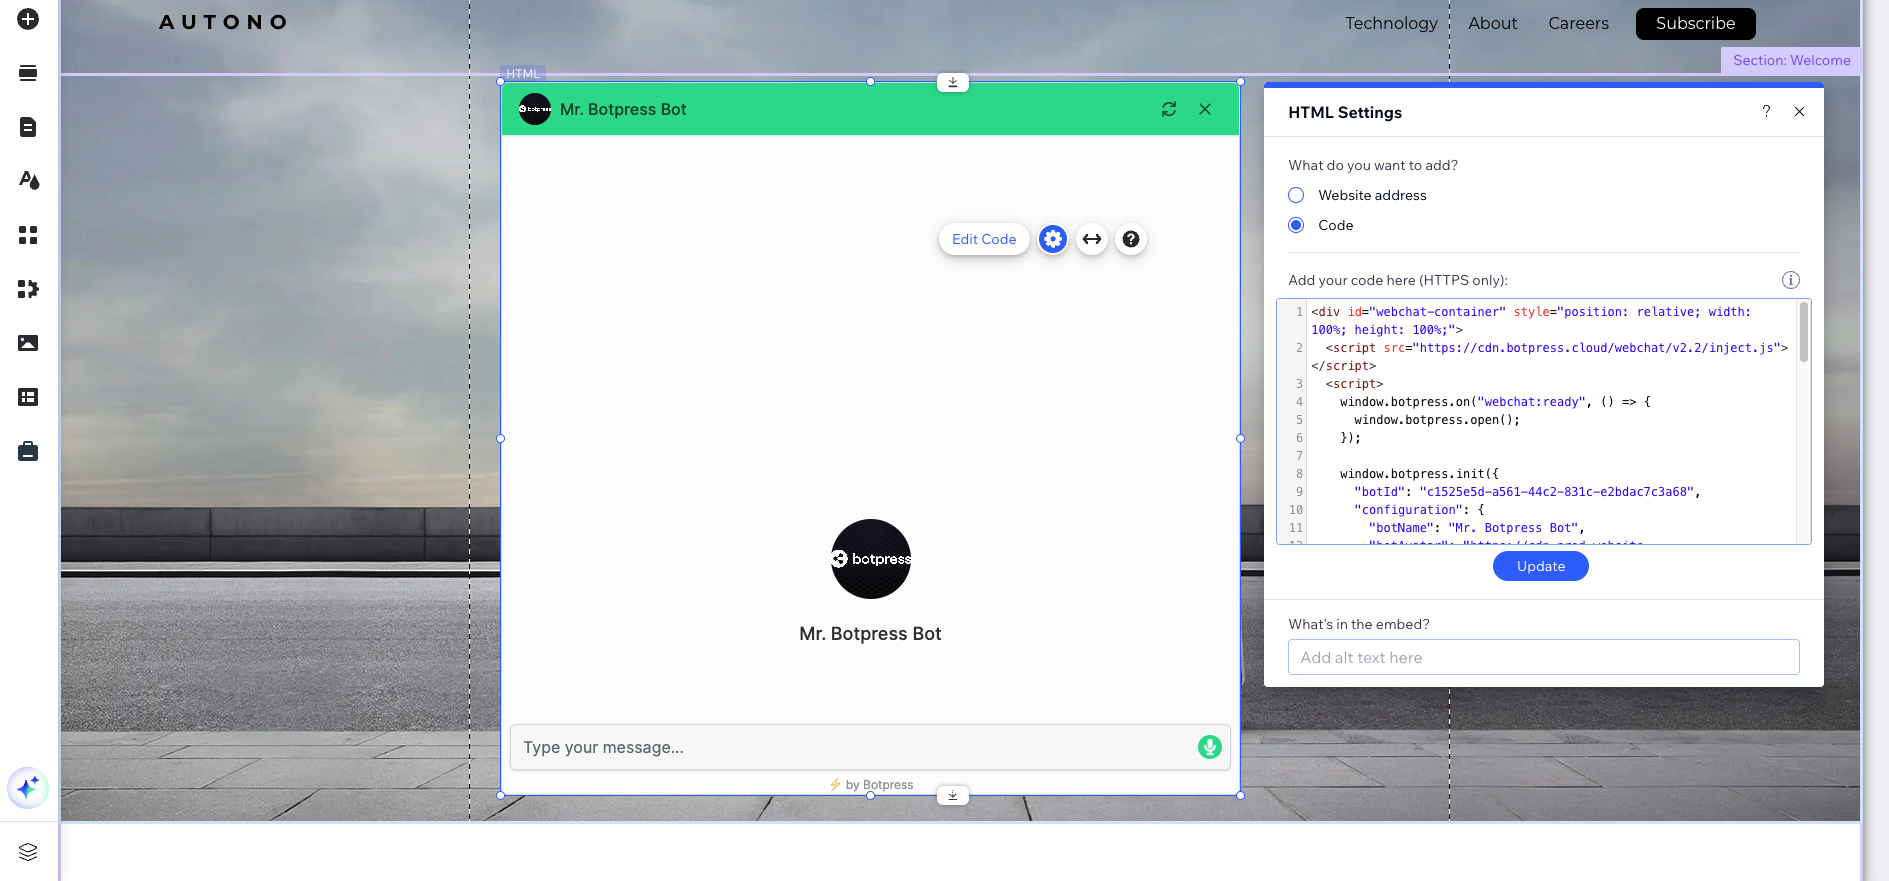
This is what it should look like in the end: (Note: Modify the code in the "configuration" section within "window.botpress.init" to configure your bot's name, avatar, color, font, etc...).
Embedding the Botpress Web Chat in a Website div
-
Log in to your Wix dashboard and click on Edit Site on the top right of the dashboard.
-
While in the Studio Editor, click on the Add Elements button from the left sidebar.
-
Scroll until you see Embed Code. Click on it and click on Embed a site.
-
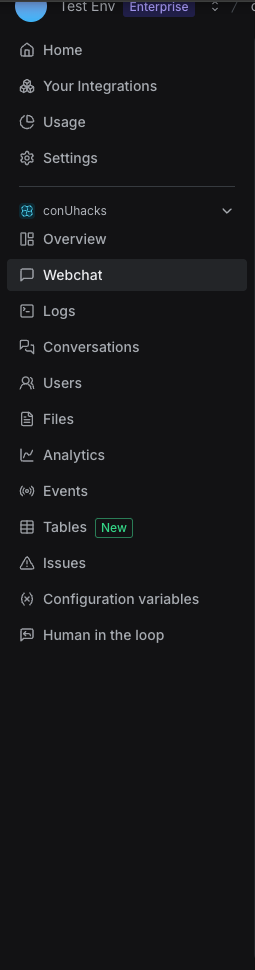
Head over to your Botpress dashboard and click on Webchat in the left sidebar. Please make sure you are editing the Webchat of the correct bot by checking the title of the dropdown.
-
From there, head over to Share tab and copy the Shareable Link.
-
Go back to Wix and paste the link under "What's the website address?" and click Apply.
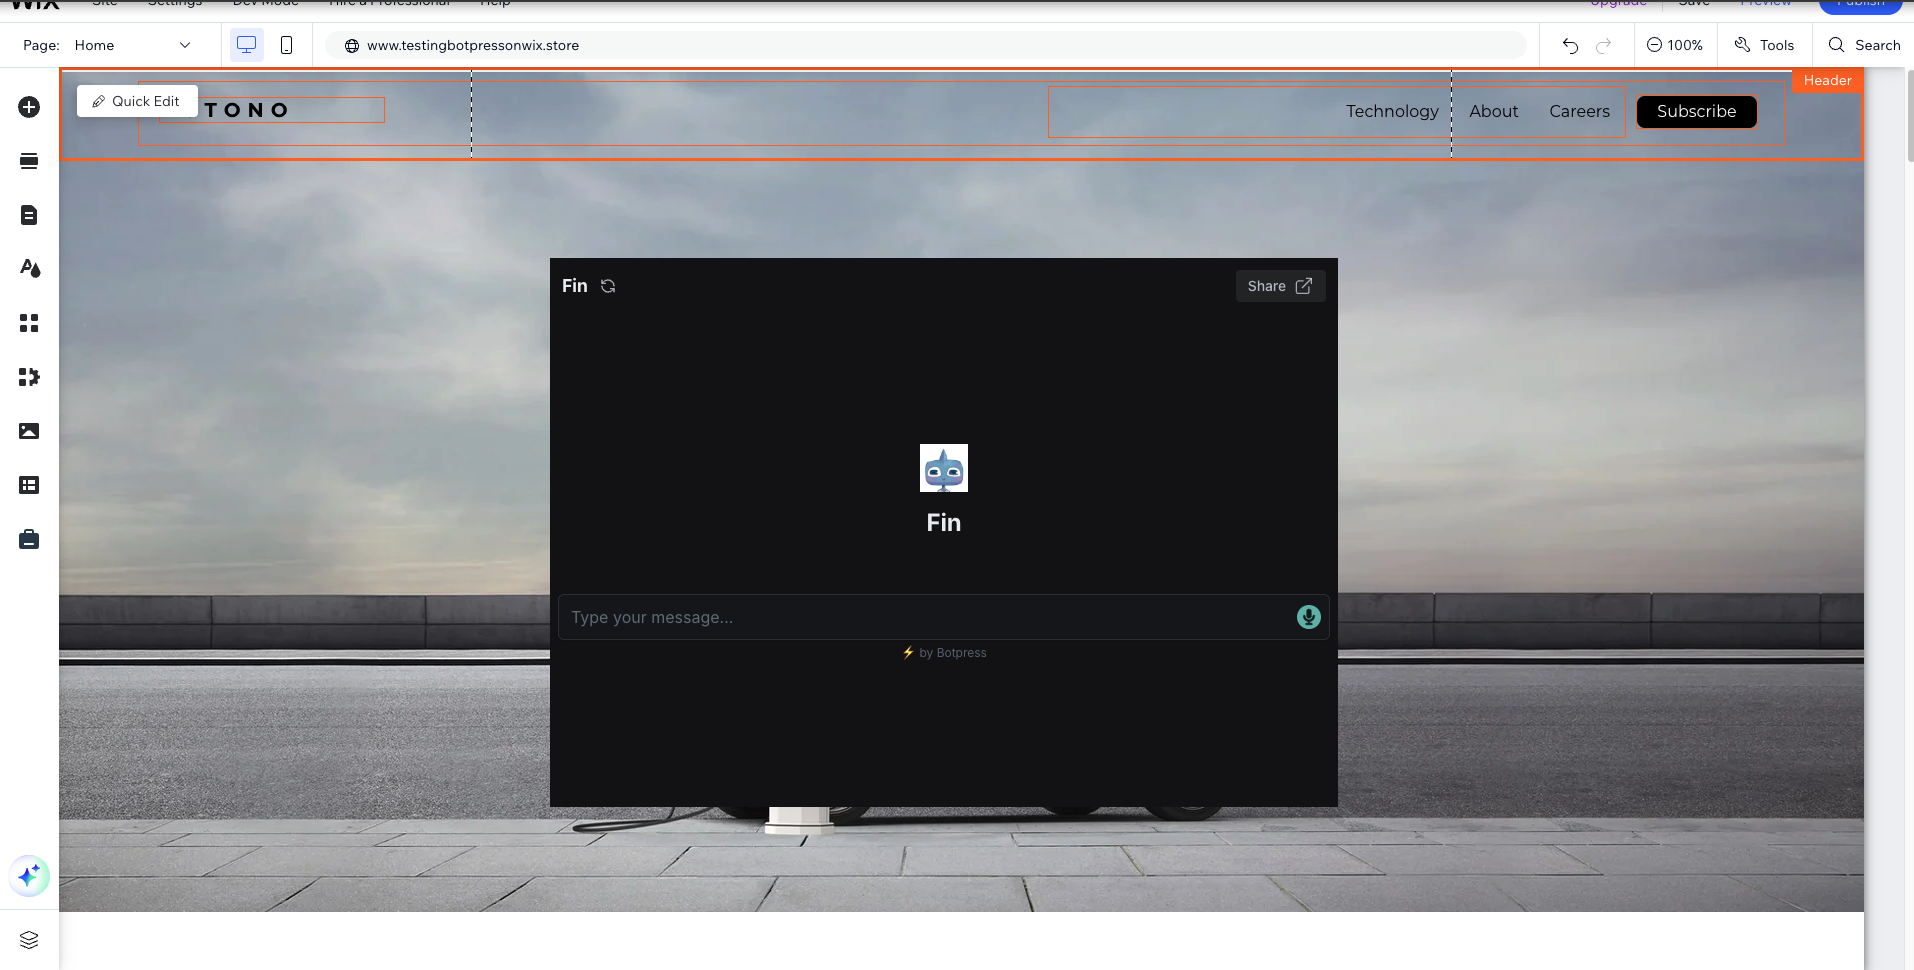
Your embed should look like this (see screenshot below). Note: The name of the bot, the image, and the color scheme of the buttons comes from the changes you've made in the Theme tab of the Webchat.
Updated 2 months ago