
Sending User Data to your bot
The Embedded Webchat allows you to add custom data to the user. With this user data feature, you can include information like email or browser details, or any other useful data for your bot.
Adding user data during initialization
You might want to add user data during initialization so that your bot can deliver a more personalized conversation experience right from the start.
This assumes you install the widget using the Embed code found in the Webchat Share section as shown below.
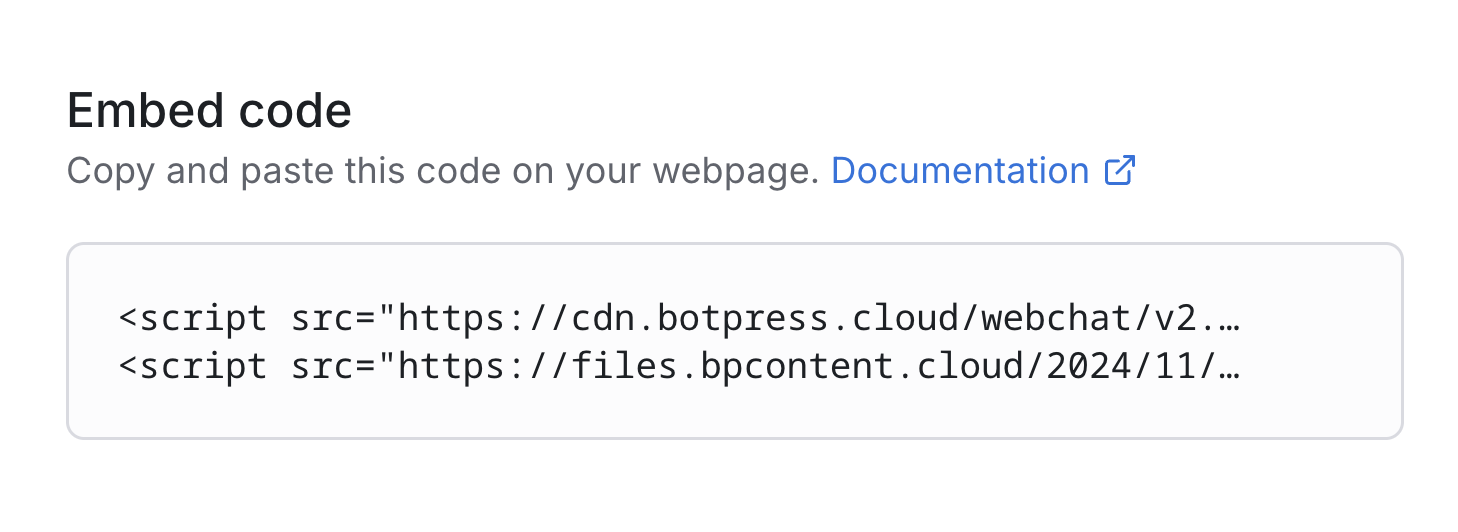
To add data during initialization, you will need to remove and modify the second script:
- Remove the Auto-Initialization Script
Locate and remove the second<script>tag that we added previously in your.htmlfile. The script is responsible for callingwindow.botpress.initautomatically, which we will now call manually. Example of the script to remove:<script src="https://files.bpcontent.cloud/2024/11/29/21/23331129444466-WDDD1UHW.js"></script>\ - Copy the Content of the Script
Visit the URL in the script tag we just removed and copy its contents. It should look like the following\
window.botpress.init({
  "botId": "d3aea06d-0f04-4701-bec3-b457caf79902",
  "configuration": {
    "website": {},
    "email": {},
    "phone": {},
    "termsOfService": {},
    "privacyPolicy": {},
    "color": "#3B82F6",
    "variant": "solid",
    "themeMode": "light",
    "fontFamily": "inter",
    "radius": 1
  },
  "clientId": "0e772c62-e321-46b5-a9fb-a88c5104e067"
});
- Add the Custom Initialization Script to your project
Add the copied JavaScript code in your project, and add the user property to include personalized user data. The updated code should look like this:\
window.botpress.init({
  "botId": "d3aea06d-0f04-4701-bec3-b457caf79902",
  "configuration": {
    "website": {},
    "email": {},
    "phone": {},
    "termsOfService": {},
    "privacyPolicy": {},
    "color": "#3B82F6",
    "variant": "solid",
    "themeMode": "light",
    "fontFamily": "inter",
    "radius": 1
  },
  "clientId": "0e772c62-e321-46b5-a9fb-a88c5104e067",
  "user": {
    "data": {
      "firstName": "Aj",
      "lastName": "Botpress",
      "email": "aj@botpress.com"
    }
  }
});
Update the User Data
First, use the Embedded Webchat on your site. This will give you access to the window.botpress object. You can use the window.botpress.updateUser function to send any data back to Botpress.
Here's an example of the updateUser function:
window.botpress.updateUser({
  "data": {
    "firstName": firstname,
    "lastName": lastname,
    "email": email,
  }
})
Important note, the user can't be updated until the webchat is opened. Use the window.botpress.on('webchat:opened', () => {}) event to confirm the user exists and can be updated.
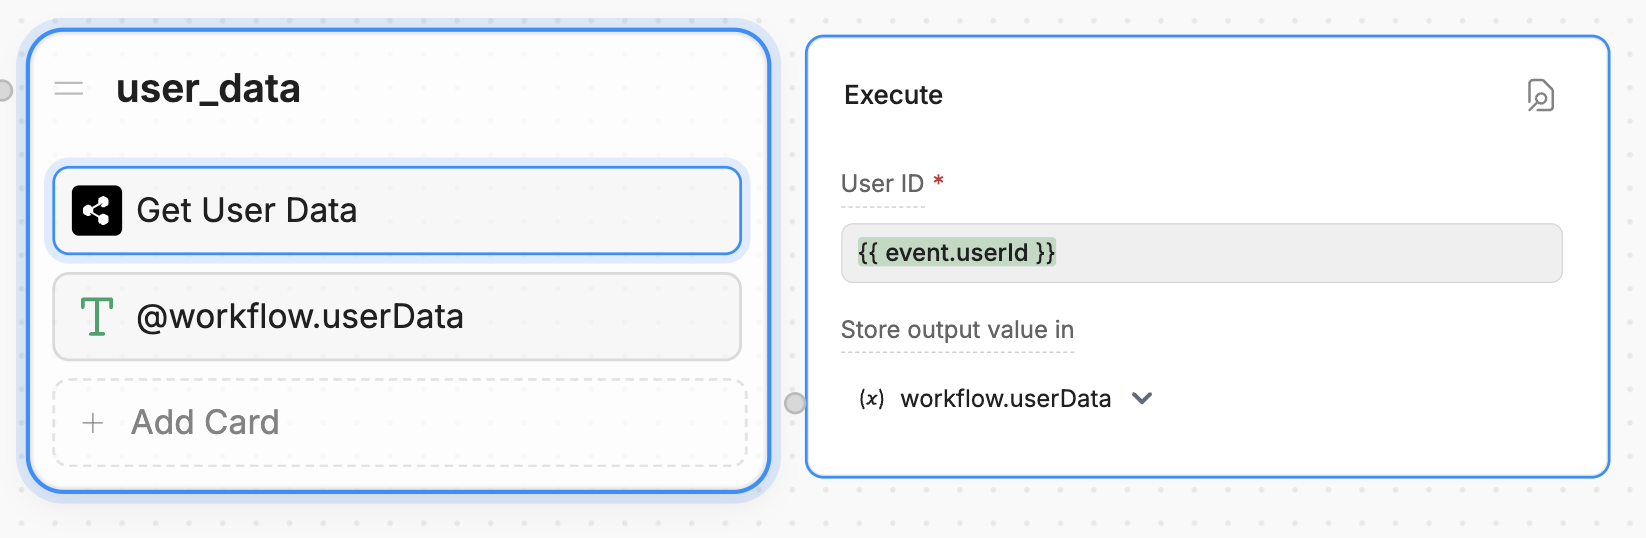
Retrieve the User Data in your Studio
Once you have sent the data to Botpress, you can use the Get User Data card in the studio to retrieve the user data sent from your website.
Retrieving User Data from the Bot
Optionally, if you want to retrieve user data from the webchat, you can do so by calling the following code once Botpress is initialized:
window.botpress.getUser()Updated about 2 months ago